Table of Contents
What is Virtual Memory (Page file) ?
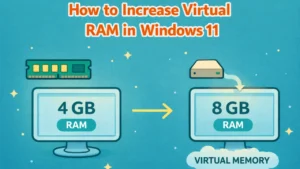
Virtual memory, also called the page file, helps Windows 11 when your computer runs low on RAM. It uses a small part of your hard drive as extra memory so your system can keep working smoothly.
When RAM is almost full, Windows moves data that is not being used right now to the hard drive. This can help prevent freezing, crashing, or low memory errors.
Keep in mind that virtual memory is slower than real RAM because it uses the hard drive. Even so, setting it up correctly can improve performance if your computer does not have enough RAM.
This tutorial will guide you step by step on how to manually increase the page file size in Windows 11. It will also explain when you need to do this and how to fix common problems.
Important Things to Know
- You need to be signed in as an administrator to manage the paging file.
- Make sure the drive has enough free disk space for the page file. Decide how much storage you want to use, such as 4 GB, 8 GB, 12GB, or more, depending on your needs.
- Sometimes Windows automatically creates and manages the paging file using space on the C drive.
- Also, check how much RAM is already installed on your system.
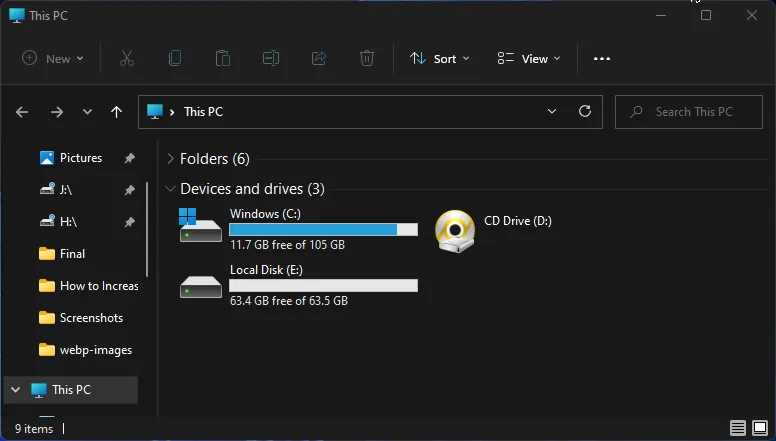
Before setting up the page file, decide how much space you want to use. You can create it on any partition with enough free space. For example, I have 63 GB free on my E: drive and I’ll create between 8 to 24 GB page file, leaving 39 GB free. Keep in mind that the space you allocate for the page file will be reserved and won’t be available for other use until you remove page file.
How to create page file in Windows 11
Changing or creating a page file, also called virtual memory, is very easy in Windows 11. Just follow this step by step guide with clear screenshots to help you along the way.
Step 1: Open Virtual Memory Settings
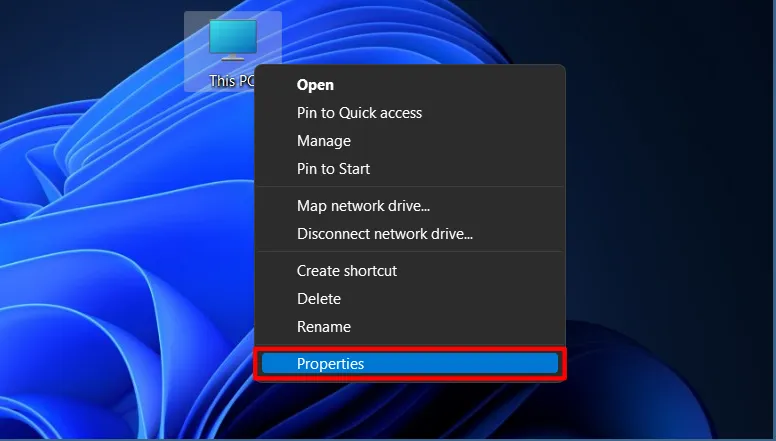
Open This PC’s Properties
(Right click → “Properties”)
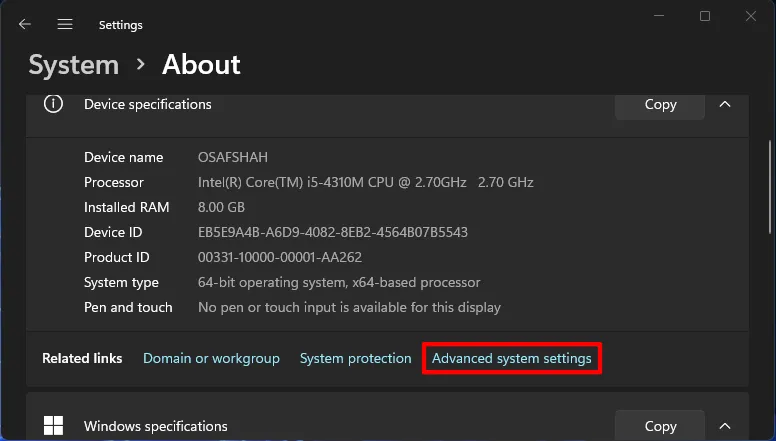
Click on Advanced system settings.
A new window will appear in System > About. Click on Advanced system settings located at the bottom of the Device specifications section.
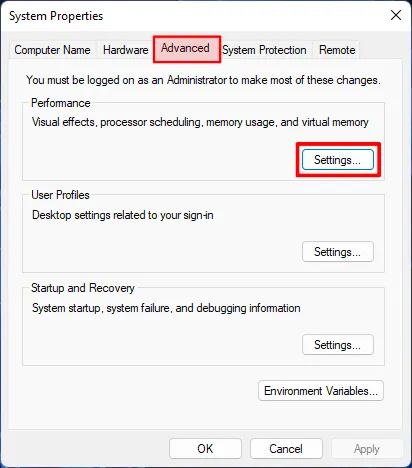
In the Advanced tab, click the Settings button.
A new System Properties window will appear. In the Advanced tab, you will see three Settings buttons. Click the first one under the Performance section.
Again in the Advanced tab, click the Change button.
A new Performance Options window will appear. Go to the Advanced tab and click the Change button under the Virtual Memory section.

Step 2: Set up Custom Page file
Uncheck Automatic Management
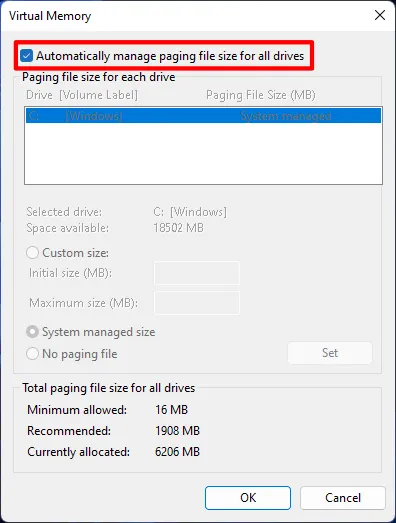
In the Virtual Memory window that appears, you’ll see “Automatically manage paging file size for all drives” checked by default. Uncheck this box to enable custom settings.
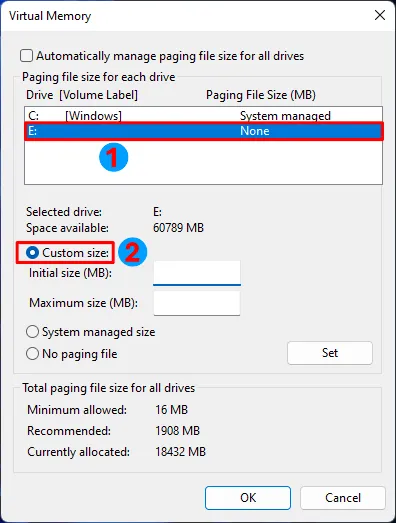
Next, you’ll see your disk partitions in the Virtual Memory window. I’m using my E: drive, but you can use any partition. If you only have the C: drive, that’s fine too.
Click the drive you want to use, select it, and choose the Custom size option. This lets you set the exact size of the page file for that drive.
Now it’s time to set the page file size. You need to enter two values: Initial size and Maximum size, based on your needs. Both values must be entered in MB.
If you’re not sure what numbers to use or which size works best for your system. A common recommendation is to set the initial size to 1.5x your RAM and the maximum size to 3x your RAM.
Use the table below to see what values to enter for the initial and maximum size based on your RAM.
| Recommended Page File Sizes for Different RAM Amounts | |||
|---|---|---|---|
| Installed RAM | Initial Size | Maximum Size | Storage Required |
| 2 GB | 3072 MB | 6144 MB | 6 GB |
| 4 GB | 6144 MB | 12288 MB | 12 GB |
| 6 GB | 9216 MB | 18432 MB | 18 GB |
| 8 GB | 12288 MB | 24576 MB | 24 GB |
| 12 GB | 18432 MB | 36864 MB | 36 GB |
| 16 GB | 24576 MB | 49152 MB | 48 GB |
| 24 GB | 36864 MB | 73728 MB | 72 GB |
| 32 GB | 49152 MB | 98304 MB | 96 GB |
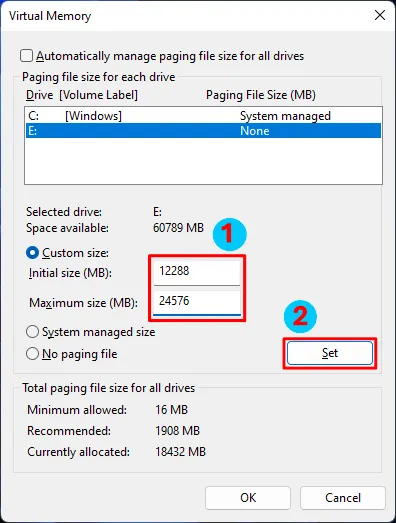
Enter the Initial and Maximum size, then click on Set button.
Select the drive and enter the Initial and Maximum size in MB. I have 8 GB RAM, so I’m using 12,288 MB (1.5x RAM) for the initial size and 24,576 MB (3x RAM) for the maximum size. This will create a 24 GB page file on the selected partition.
If you don’t have enough space, you can enter smaller values.
✅ Congratulations! You’ve Successfully created page file.
Note: Remember, this space will be reserved for the page file and won’t be available until you remove it.
Step 3: Remove System Managed Page file
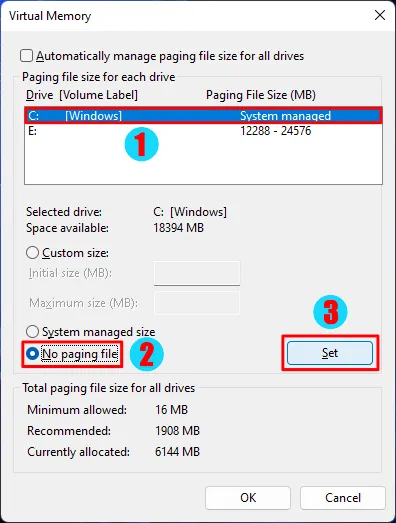
Now it’s time to remove the default system managed page file. Windows creates this automatically on the C: drive when needed.
If the new page file is on the C: drive, no changes are needed because it replaces the old one. If it’s on another drive, it’s better to remove the system managed page file from the C: drive.
Now click on the C: drive, select the No paging file option, and click SET.
Step 4: Restart Your Computer
If a new window appears asking you to restart your PC, restart it. Otherwise, reboot your system manually to apply the new virtual memory settings.
After you restart, the system will use the increased page file size.
Pro Tips to increase virtual memory
Use Multiple Drives if One Drive Has Low Space
If one drive does not have enough free space, you can split the page file across multiple partitions. For example, if you want a total page file size of 12 GB and you have three drives, you can assign 4 GB to each drive. This helps you reach the required size without filling up a single partition. Just remember, if you ever want to format a drive, you must remove the page file from that drive first.
Set System Managed Page File on a Specific Drive
If you prefer not to set sizes manually, you can allow Windows to manage the page file for a specific drive. Simply select the drive in the Virtual Memory window and choose the system managed option. Windows will automatically adjust the page file size based on system needs.
Do Not Disable the Page File
Even if your system has plenty of RAM, it’s not a good idea to disable the page file. Windows relies on it for proper memory management. Turning it off can lead to system errors, crashes, or problems when running large or demanding applications.
How to Revert Page File Changes
If you want to undo your changes, follow the same steps and re-enable the option to automatically manage paging file size for all drives, or reset the values to their original sizes. Restart your PC to apply the changes and return everything to normal.
More Tutorials On Windows 11
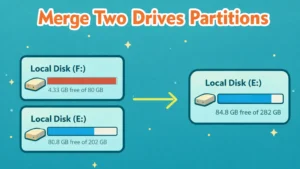
- How to Merge Partitions in windows 11
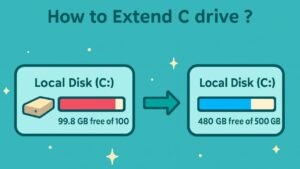
- How to Extend C drive in windows 11
- How to convert MBR to GPT
- How to Speed Up Windows 11
Frequently Asked Questions
Virtual memory, also called the page file, is a part of your hard drive that Windows uses as extra memory when RAM is running low.
Yes It can help reduce lag and low memory errors on systems with limited RAM, but it cannot replace real RAM.
A common recommendation is 1.5× your RAM for the initial size and 3× your RAM for the maximum size.
Yes, it is safe as long as you have enough free disk space and follow recommended size limits.
No, disabling the page file can cause system instability and errors, even if you have plenty of RAM.
Yes, you can create a page file on any drive that has enough free space.
Yes, Windows allows you to divide the page file across multiple partitions if one drive does not have enough space.
Yes, you must be signed in as an administrator to modify virtual memory settings.
Yes, a restart is required for the new virtual memory settings to take effect.
Yes, you can re-enable the option to automatically manage paging file size for all drives and restart your PC.
Conclusion
Creating a page file will not bring a huge performance boost, and it can never replace real RAM. It is useful if your system has low RAM or if you are facing lag, freezing, or low memory errors. Otherwise, you can safely leave it on system managed.
The main purpose of the page file is to support RAM during multitasking. Think of it as a small performance booster when your memory is under pressure. After creating or changing the page file, always restart your computer because the new settings only work after a reboot.
For best results, follow the 1.5x RAM for initial size and 3x RAM for maximum size rule. By doing this, you can safely increase virtual memory and reduce low memory errors without opening your computer case.